Hang Out From Anywhere
Close the Feed. Come Hang Out.
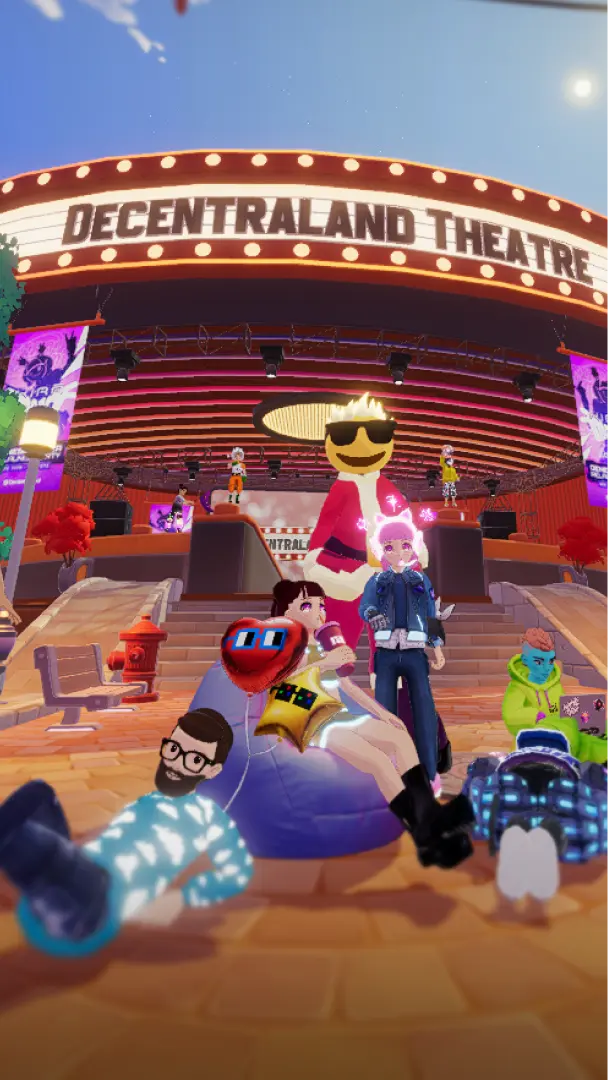
Decentraland now on mobile.
DOWNLOAD FOR
DOWNLOAD ON
Total Downloads: +400K